Pfsense Server Installation

Tutorial - PfSense Download
Access the Pfsense Download Portal.
On the Pfsense download portal, you will need to find the last version of Pfsense Firewall.
Select the Pfsense software Archictecture, select the ISO Installer format and click on the Download button.
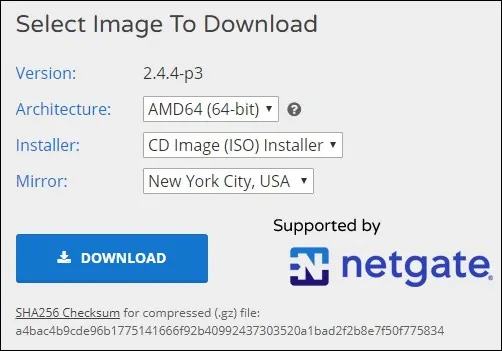
In our example, we downloaded the Pfsense 2.4.4-RELEASE-p3 installation image.
The installation file name was pfSense-CE-2.4.4-RELEASE-p3-amd64.iso.gz.
The ISO image is compacted using the extension GZ.
You will need to use a software like 7zip to extract the ISO image from the GZ package.
Tutorial - Pfsense Installation
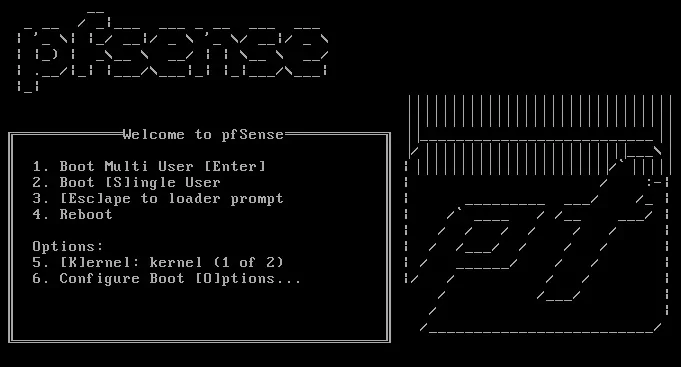
Perform the computer boot using the Pfsense installation media.
On the Welcome screen, press Enter to start the Pfsense installation process.
Accept the Pfsense End User License Agreement.

Select the Install option on the welcome screen

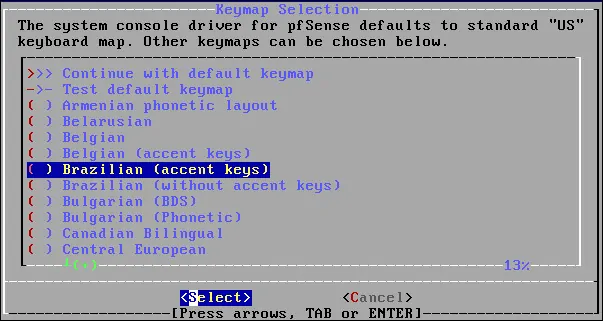
Select the desired Pfsense keyboard layout.
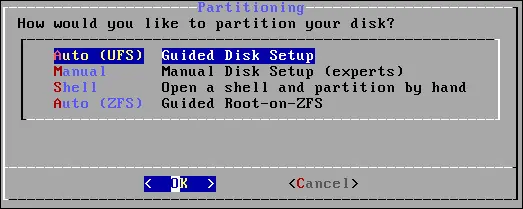
Select the Auto(UFS) option to perform the disk partitioning automatically.
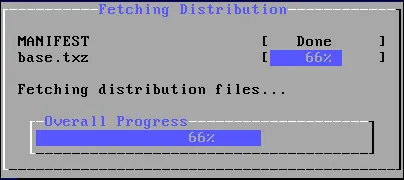
The system will start the installation of the Pfsense server.
Wait for the installation to finish.
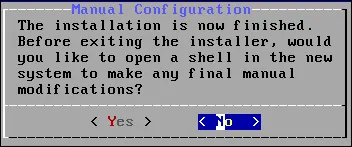
Select the No option on the manual configuration screen.
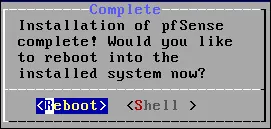
Remove the installation media and press Enter to reboot the computer.
After rebooting, the Pfsense console will ask if you need to configure VLANs.
In our example, we did not perform any Vlan configuration.
Next, the system will try to detect the list of available network interfaces.
The system will ask you to choose 1 interface as the external interface (WAN).
In our example, we configured the em0 interface as external.
The system will ask you to choose 1 interface as the internal interface (LAN).
In our example, we configured the em1 interface as internal.

After selecting the desired network interfaces, the Pfsense installation menu will be presented
On the Pfsense menu, you will be able to see the IP address that your server got from the DHCP server.
In our example, the Pfsense network interface got automatically the IP address 192.168.15.11.
If you dont have a DHCP server, you may enter the menu option number 2 to configure a static IP address.

Congratulations! You successfully installed the Pfsense server.
PFSense Dashboard Login
After finishing the IP address configuration, you are able to access the PFsense Web interface.
Open a browser software, enter the IP address of your Pfsense firewall and access web interface.
In our example, the following URL was entered in the Browser:
• https://192.168.15.11
The Pfsense web interface should be presented.

On the prompt screen, enter the Pfsense Default Password login information.
• Username: admin
• Password: pfsense
After a successful login, you will be sent to the Pfsense Dashboard.
PFSense Setup Wizard
On your first access, the Pfsense configuration wizard will be displayed.

Click on the next button and perform the hostname and DNS configuration.
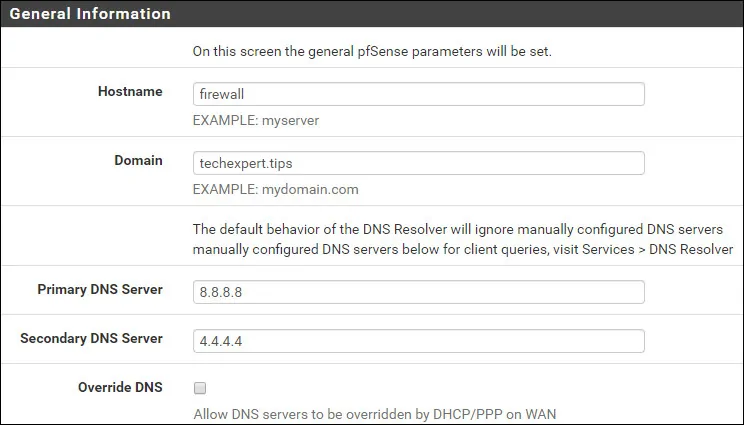
Perform the Timezone and NTP server configuration.

On the next screen, if needed, you may change the network interface configuration.
In our example, we did not perform any change.

Change the Pfsense default administrative password and click on the Next button.

The system will reload the Pfsense configuration.
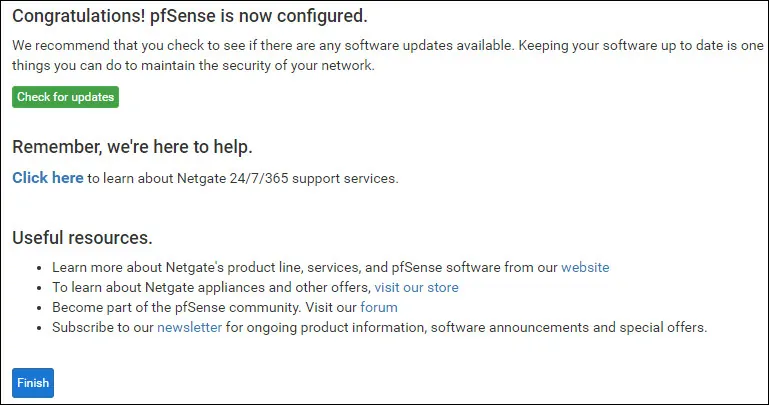
The pfsense installation was finished successfully.
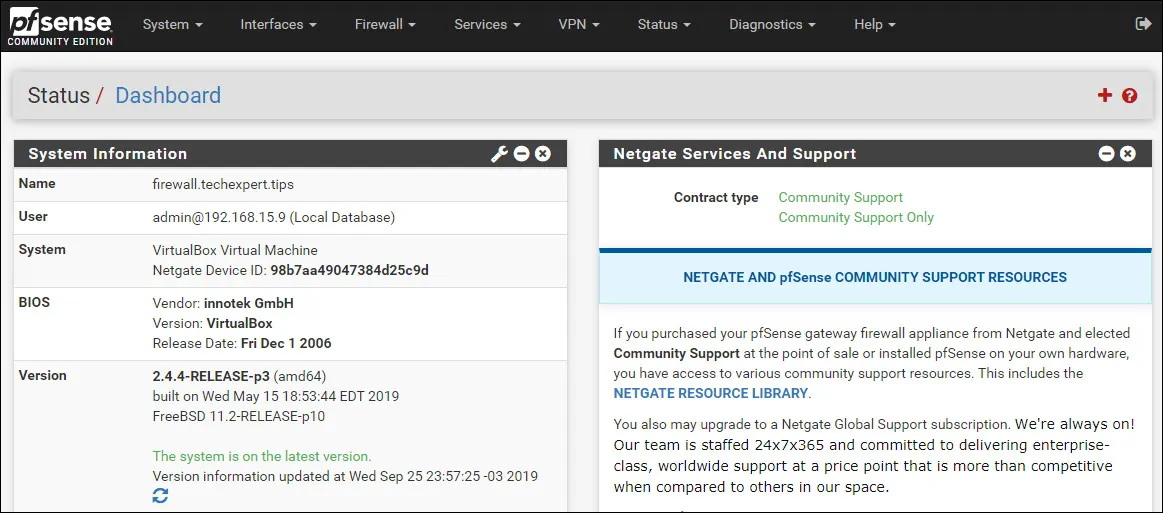
Congratulations! You are now the administrator of a Pfsense server.

